The Space Saving Flowering Cherry With Tons of Color
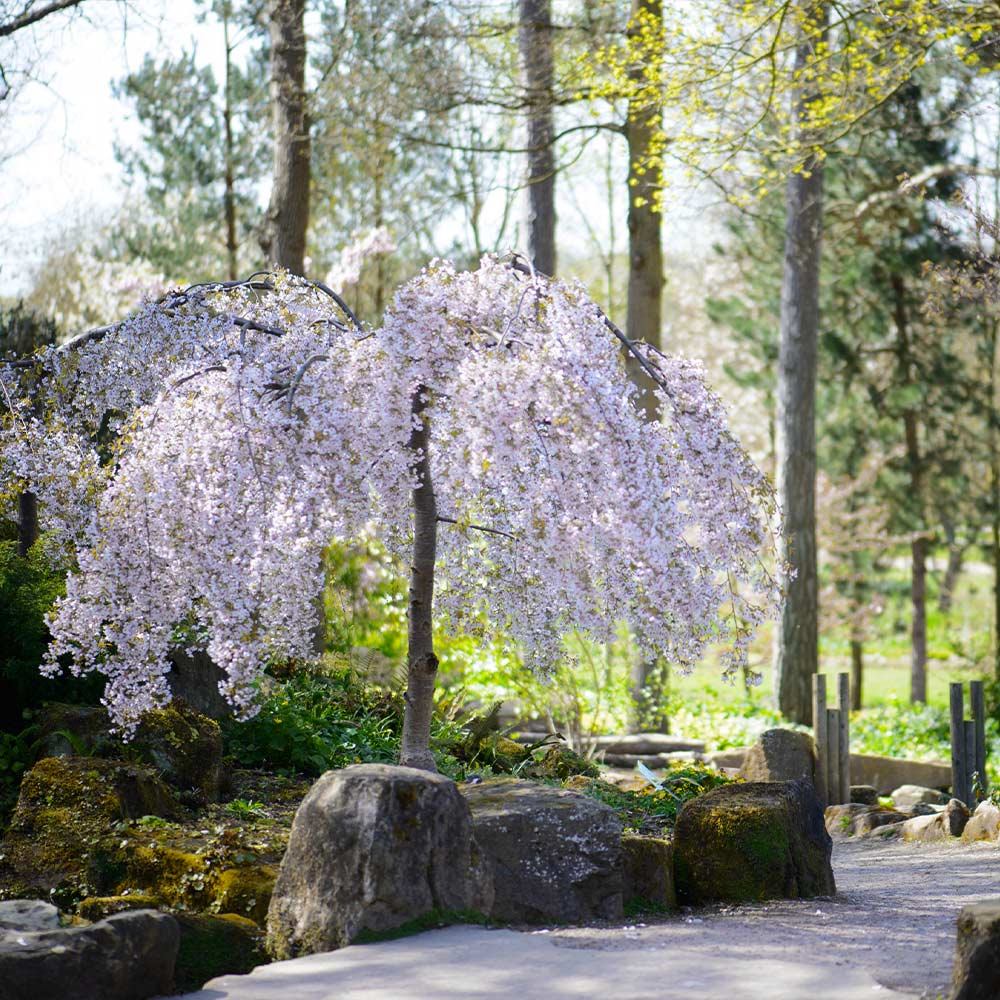
Snow Fountain Weeping Cherry Trees are popular all across the nation because they display multiple seasons of color in even the smallest landscapes. By only growing to about 15 feet tall they can fit anywhere.
They are the perfect choice for planting in rows along a property border or close to structures like driveways or sidewalks because they won’t take over space. However, with their unforgettable beauty, they are most often used as accent pieces or the main focal point of flowering gardens.
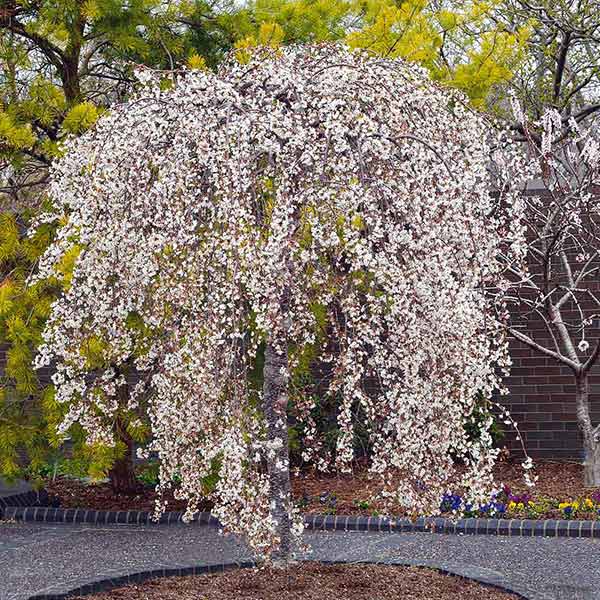
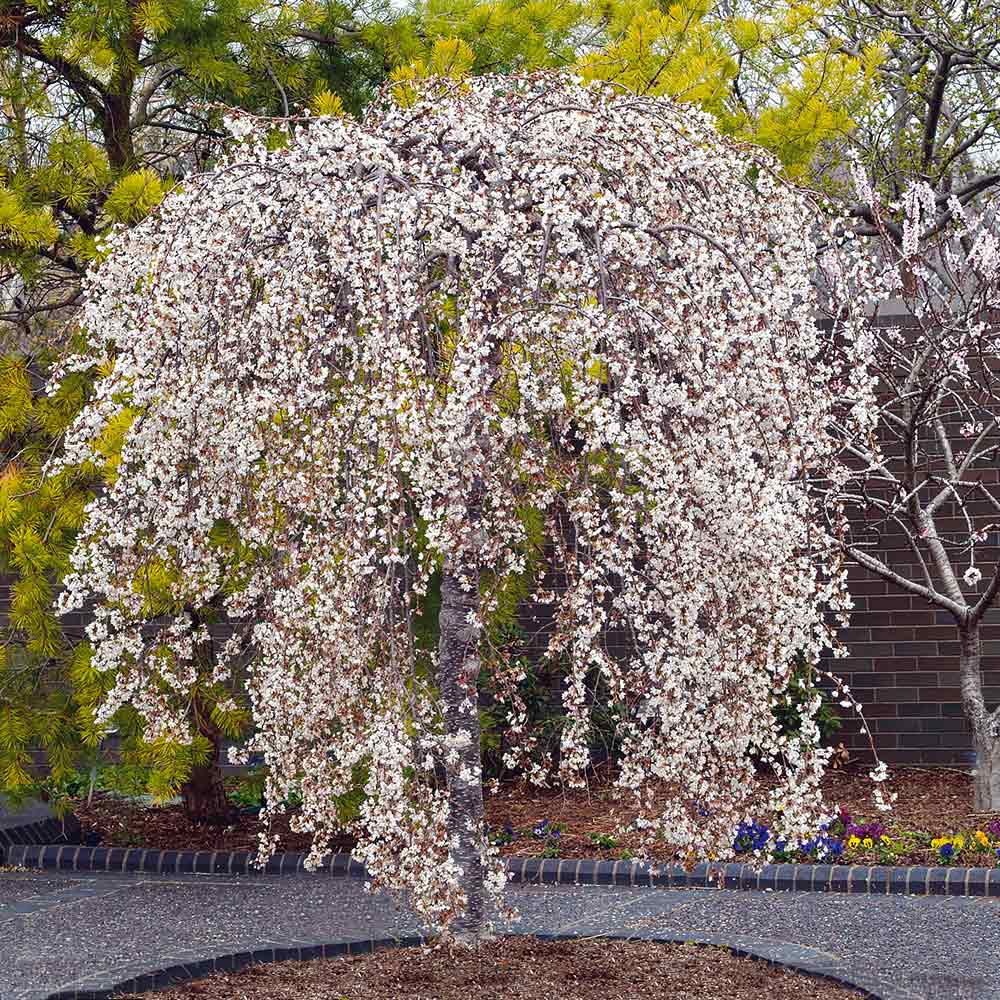
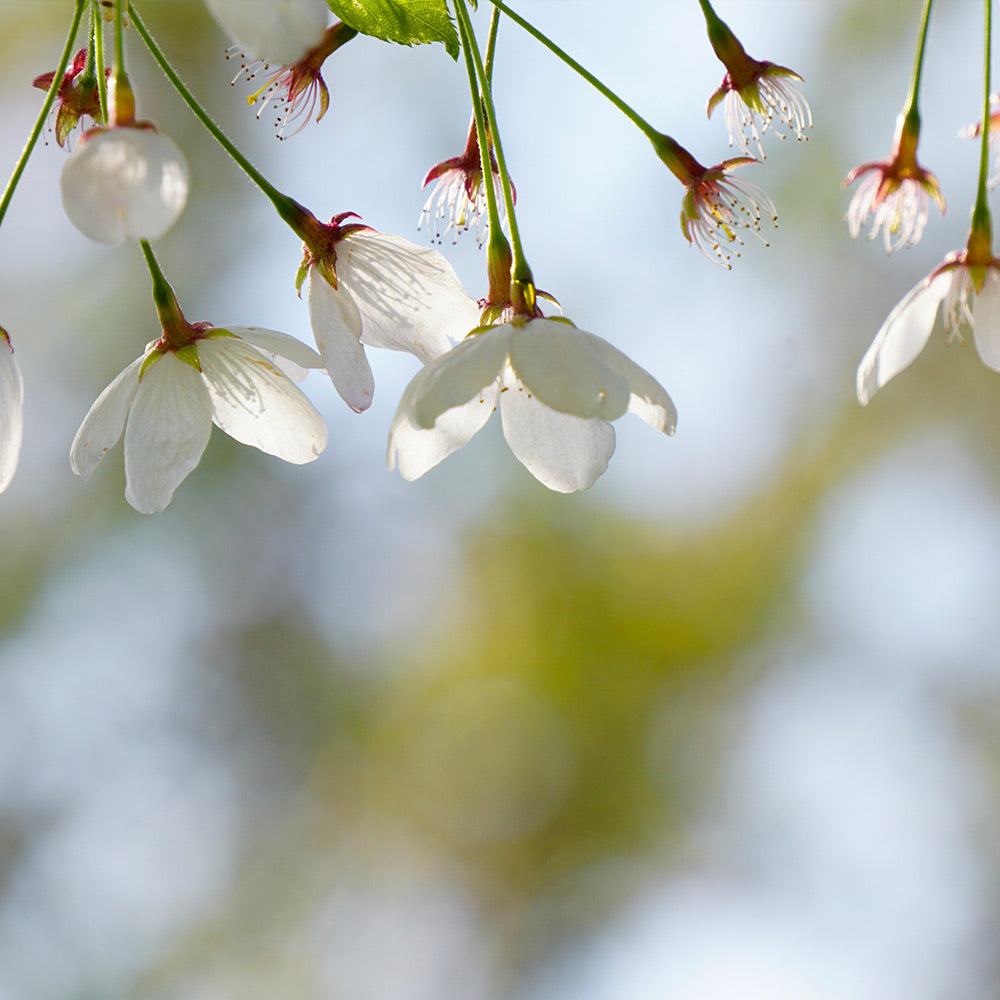
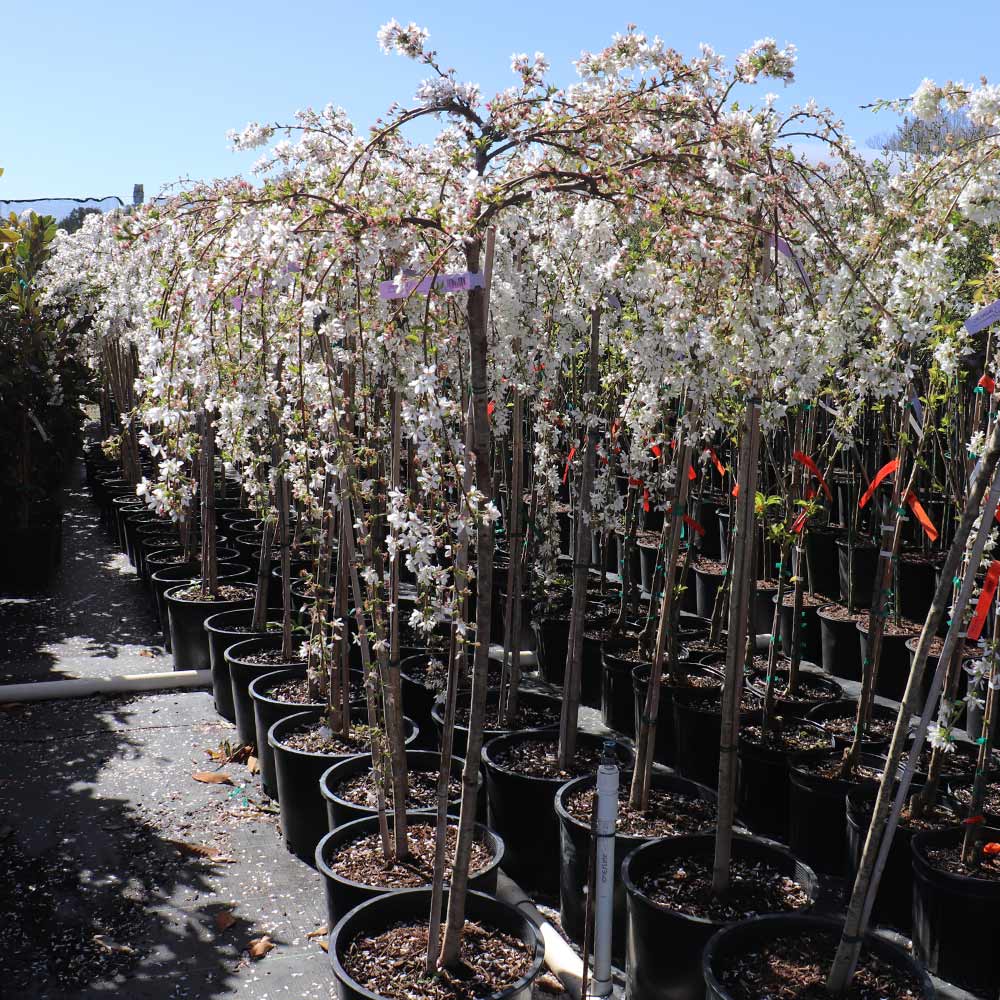
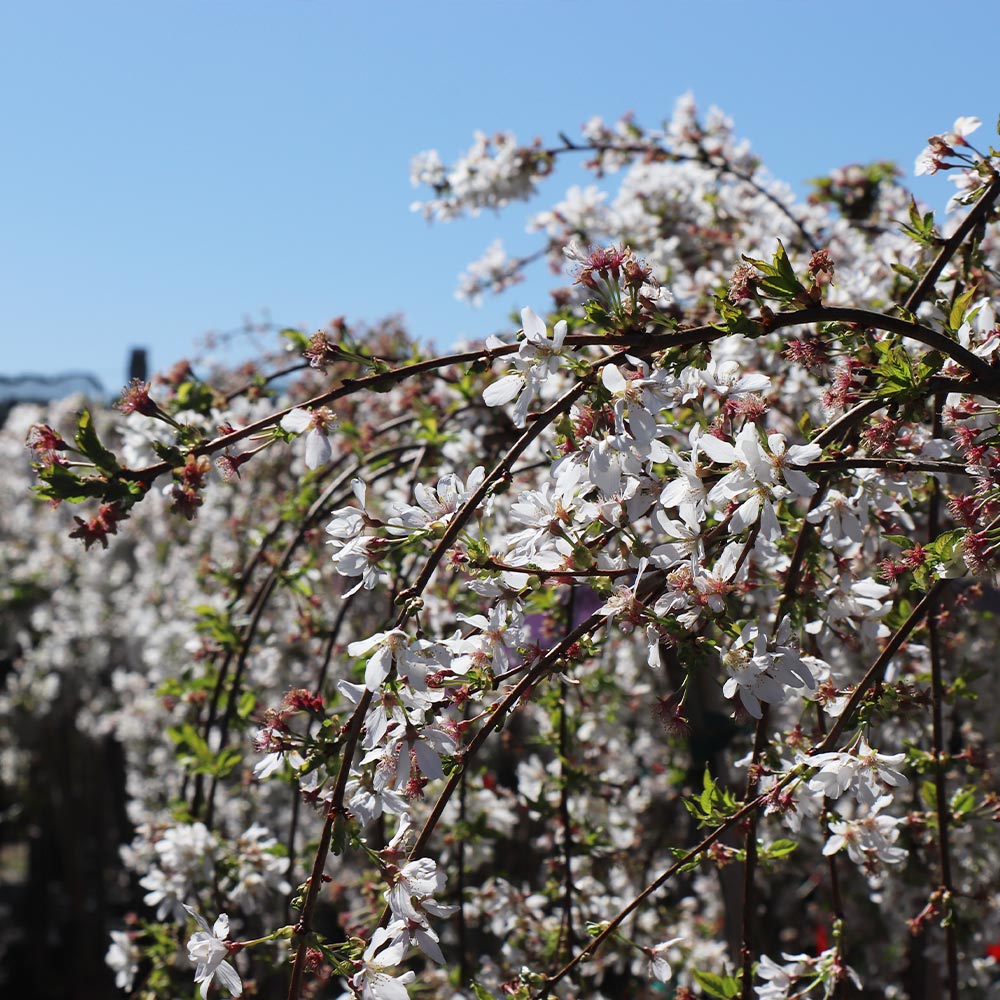
Snow Fountain Weeping Cherries have elegant arching branches that become covered in thousands of pure white blossoms every spring. The flowers cover the tree from top to bottom, causing it to look like a large water fountain that’s completely frozen over.
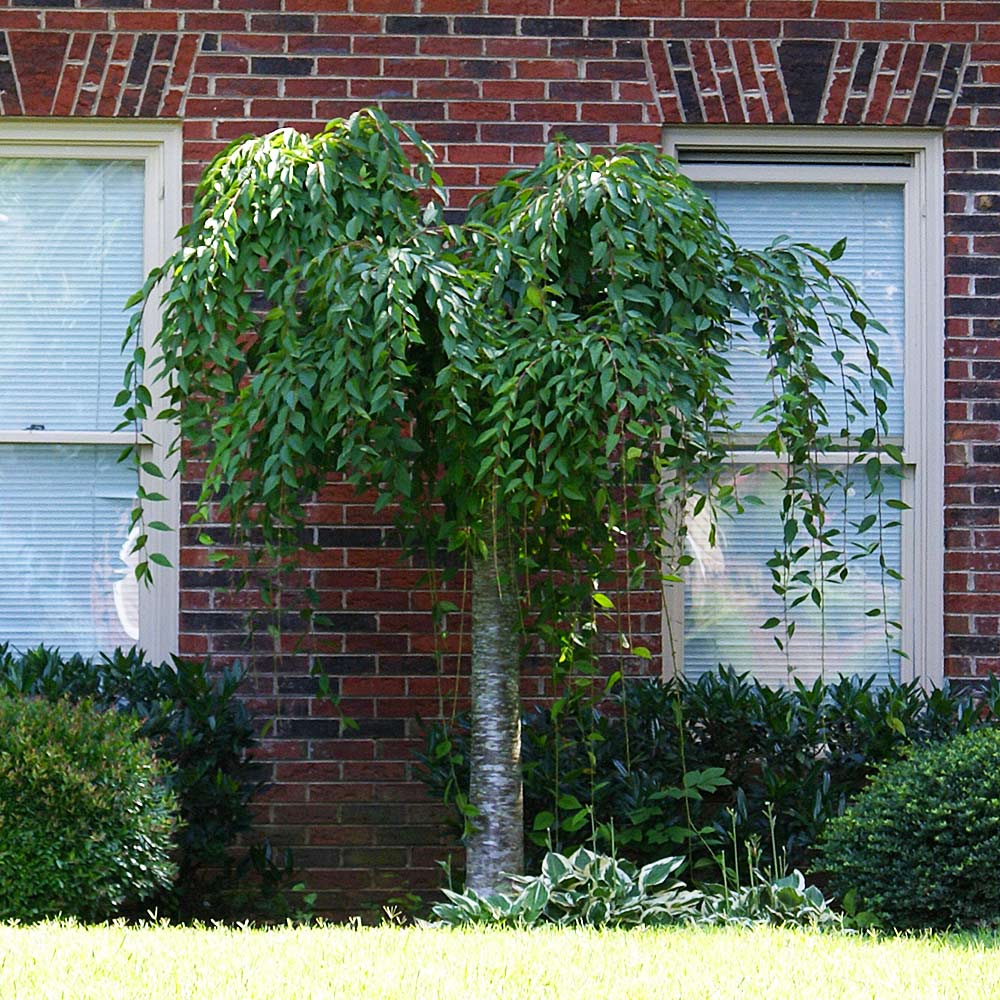
During the warmer seasons, the canopy becomes filled with lush, glossy green leaves that turn vibrant shades of orange and gold in the fall. In the winter the Snow Fountain Weeping Cherry still displays color with its mahogany trunk that stands in the empty winter landscape.
The blossoms attract important pollinators like butterflies and your landscape, which are a delight to watch as they flutter from bloom to bloom. They will pollinate your Weeping Cherry tree as well as other flowering plants in your garden.
Low maintenance Snow Fountain Weeping Cherry Trees are a favorite among the north and snow because they’re cold hardy and heat resistant. They are cold hardy to zone 5 and will flourish under heavy layers of ice and snow. Your summers will be worry-free while your drought-tolerant Snow Fountain Weeping Cherry Tree flourishes without the need to be constantly checked on.
Planting & Care
1. Planting: Select a location with well-drained soil and plenty of sunlight (6 to 8 hours of sunlight per day).
Dig a hole for that’s three times as wide and equal in depth as the root ball. Remove your tree from its original container, position it into the hole ensuring that it’s standing upright, and the top of the root ball is even with the ground.
Begin backfilling the hole, tamping down lightly as you go. Once the hole has been completely filled, water to allow the soil to settle and eliminate any air pockets. Finally, apply a 3 to 5-inch layer of mulch around the tree.
2. Watering: We recommend watering these trees in the morning, at the base. If you’re not sure when to water, simply check the top 2 inches of soil for dryness. If the soil is dry here, it’s time to water your tree.
3. Fertilizing: Apply a slow-release fertilizer once a year in early spring, before new growth emerges. Follow up by watering the surrounding soil to allow the fertilizer to penetrate into the roots.
4. Pruning: Minimal pruning is needed for these trees. Any broken branches can be pruned back in spring before new growth begins.


Comment